All Categories
Featured
Table of Contents
Infratech Heaters: Stylish Outdoor Electric Heaters Australia Fundamentals Explained
A handful of outside heating systems are fitted with incorporated heating controls, such as a heat dimmer switch or a dial to change in between warm setups. In spite of their name, these heating units are often developed exclusively for use in indoor or protected locations.
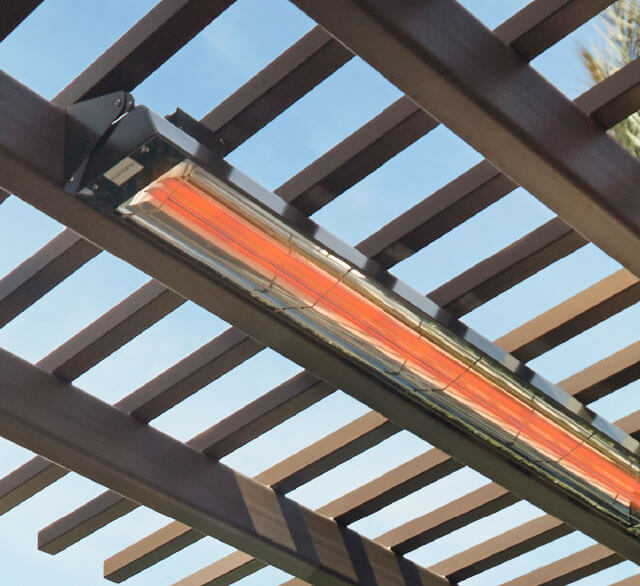
Take pleasure in pleasant outside amusing all year long from a crisp autumn night to the chilliest of winter months nights. No issue how huge or tiny your outside enjoyable area we have actually obtained the optimal outdoor location heater to maintain your guests toasty warm and also maintain the celebration going longer.
For wall surface placing, the most affordable component of the heater must be located at or over a minimal height of 1. 8m from ground level, to make sure that the heating unit can not be touched when in operation. Always place horizontally and also do not place the heating system at an angle of greater than 90 and less than 45 The heating system ought to always have a minimal clearance of 0.
Ambe Rir3000 Outdoor Electric Infrared Heater (3000w) Fundamentals Explained

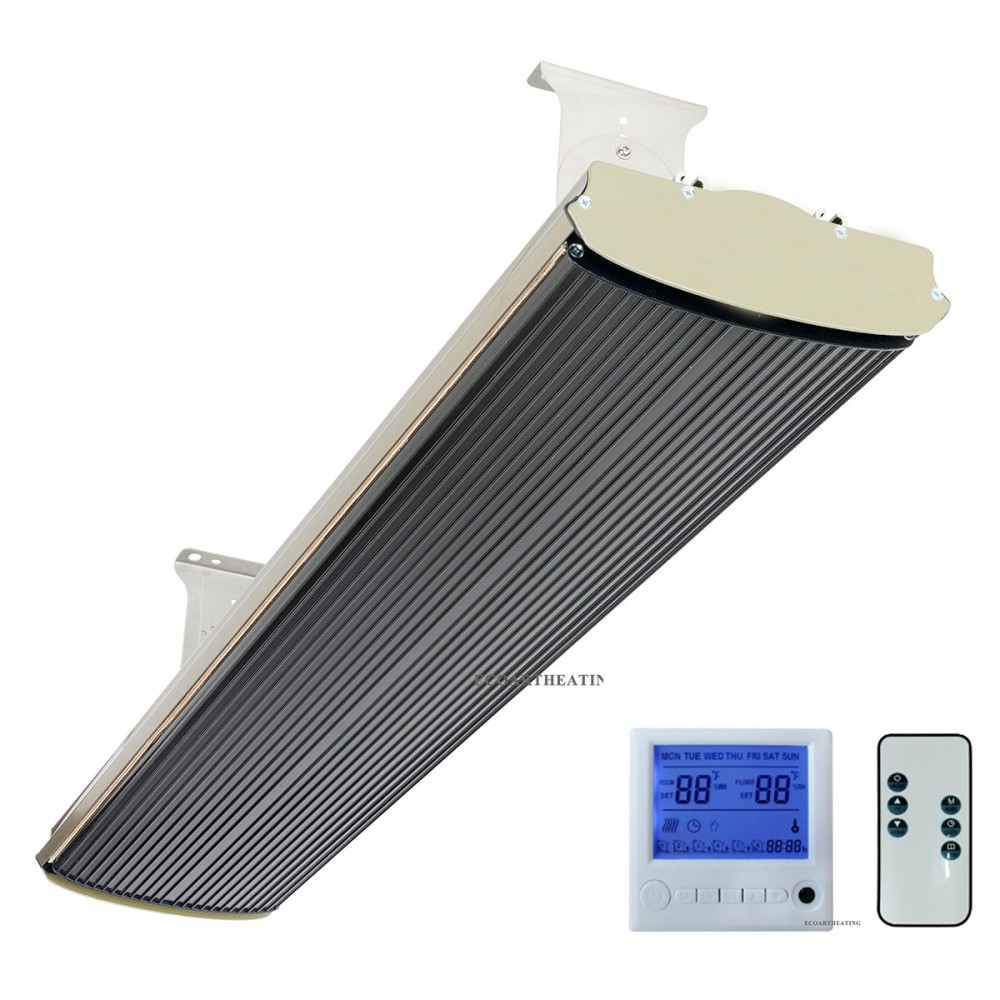
The heating system should be set up on the mounting brackets given. Secure the heating unit firmly on the brackets utilizing the nuts and screws provided. The brackets can be made use of to readjust the instructions of the heating system. Change the heating unit angle by loosening up the two bolts on the wall mounting brace. Tighten up the bolts once again when the preferred angle is gotten to.
Table of Contents
Latest Posts
Who Makes The Best 68+ Easy Bbq Side Dishes (Best Bbq Side Ideas) 2020
Some Ideas on Best Patio Heater 2023: To Keep Your Garden Cozy You Need To Know
What Is The Best Shop Our Premium Bbq Selection Program? in 2023
More
Latest Posts
Who Makes The Best 68+ Easy Bbq Side Dishes (Best Bbq Side Ideas) 2020
Some Ideas on Best Patio Heater 2023: To Keep Your Garden Cozy You Need To Know
What Is The Best Shop Our Premium Bbq Selection Program? in 2023